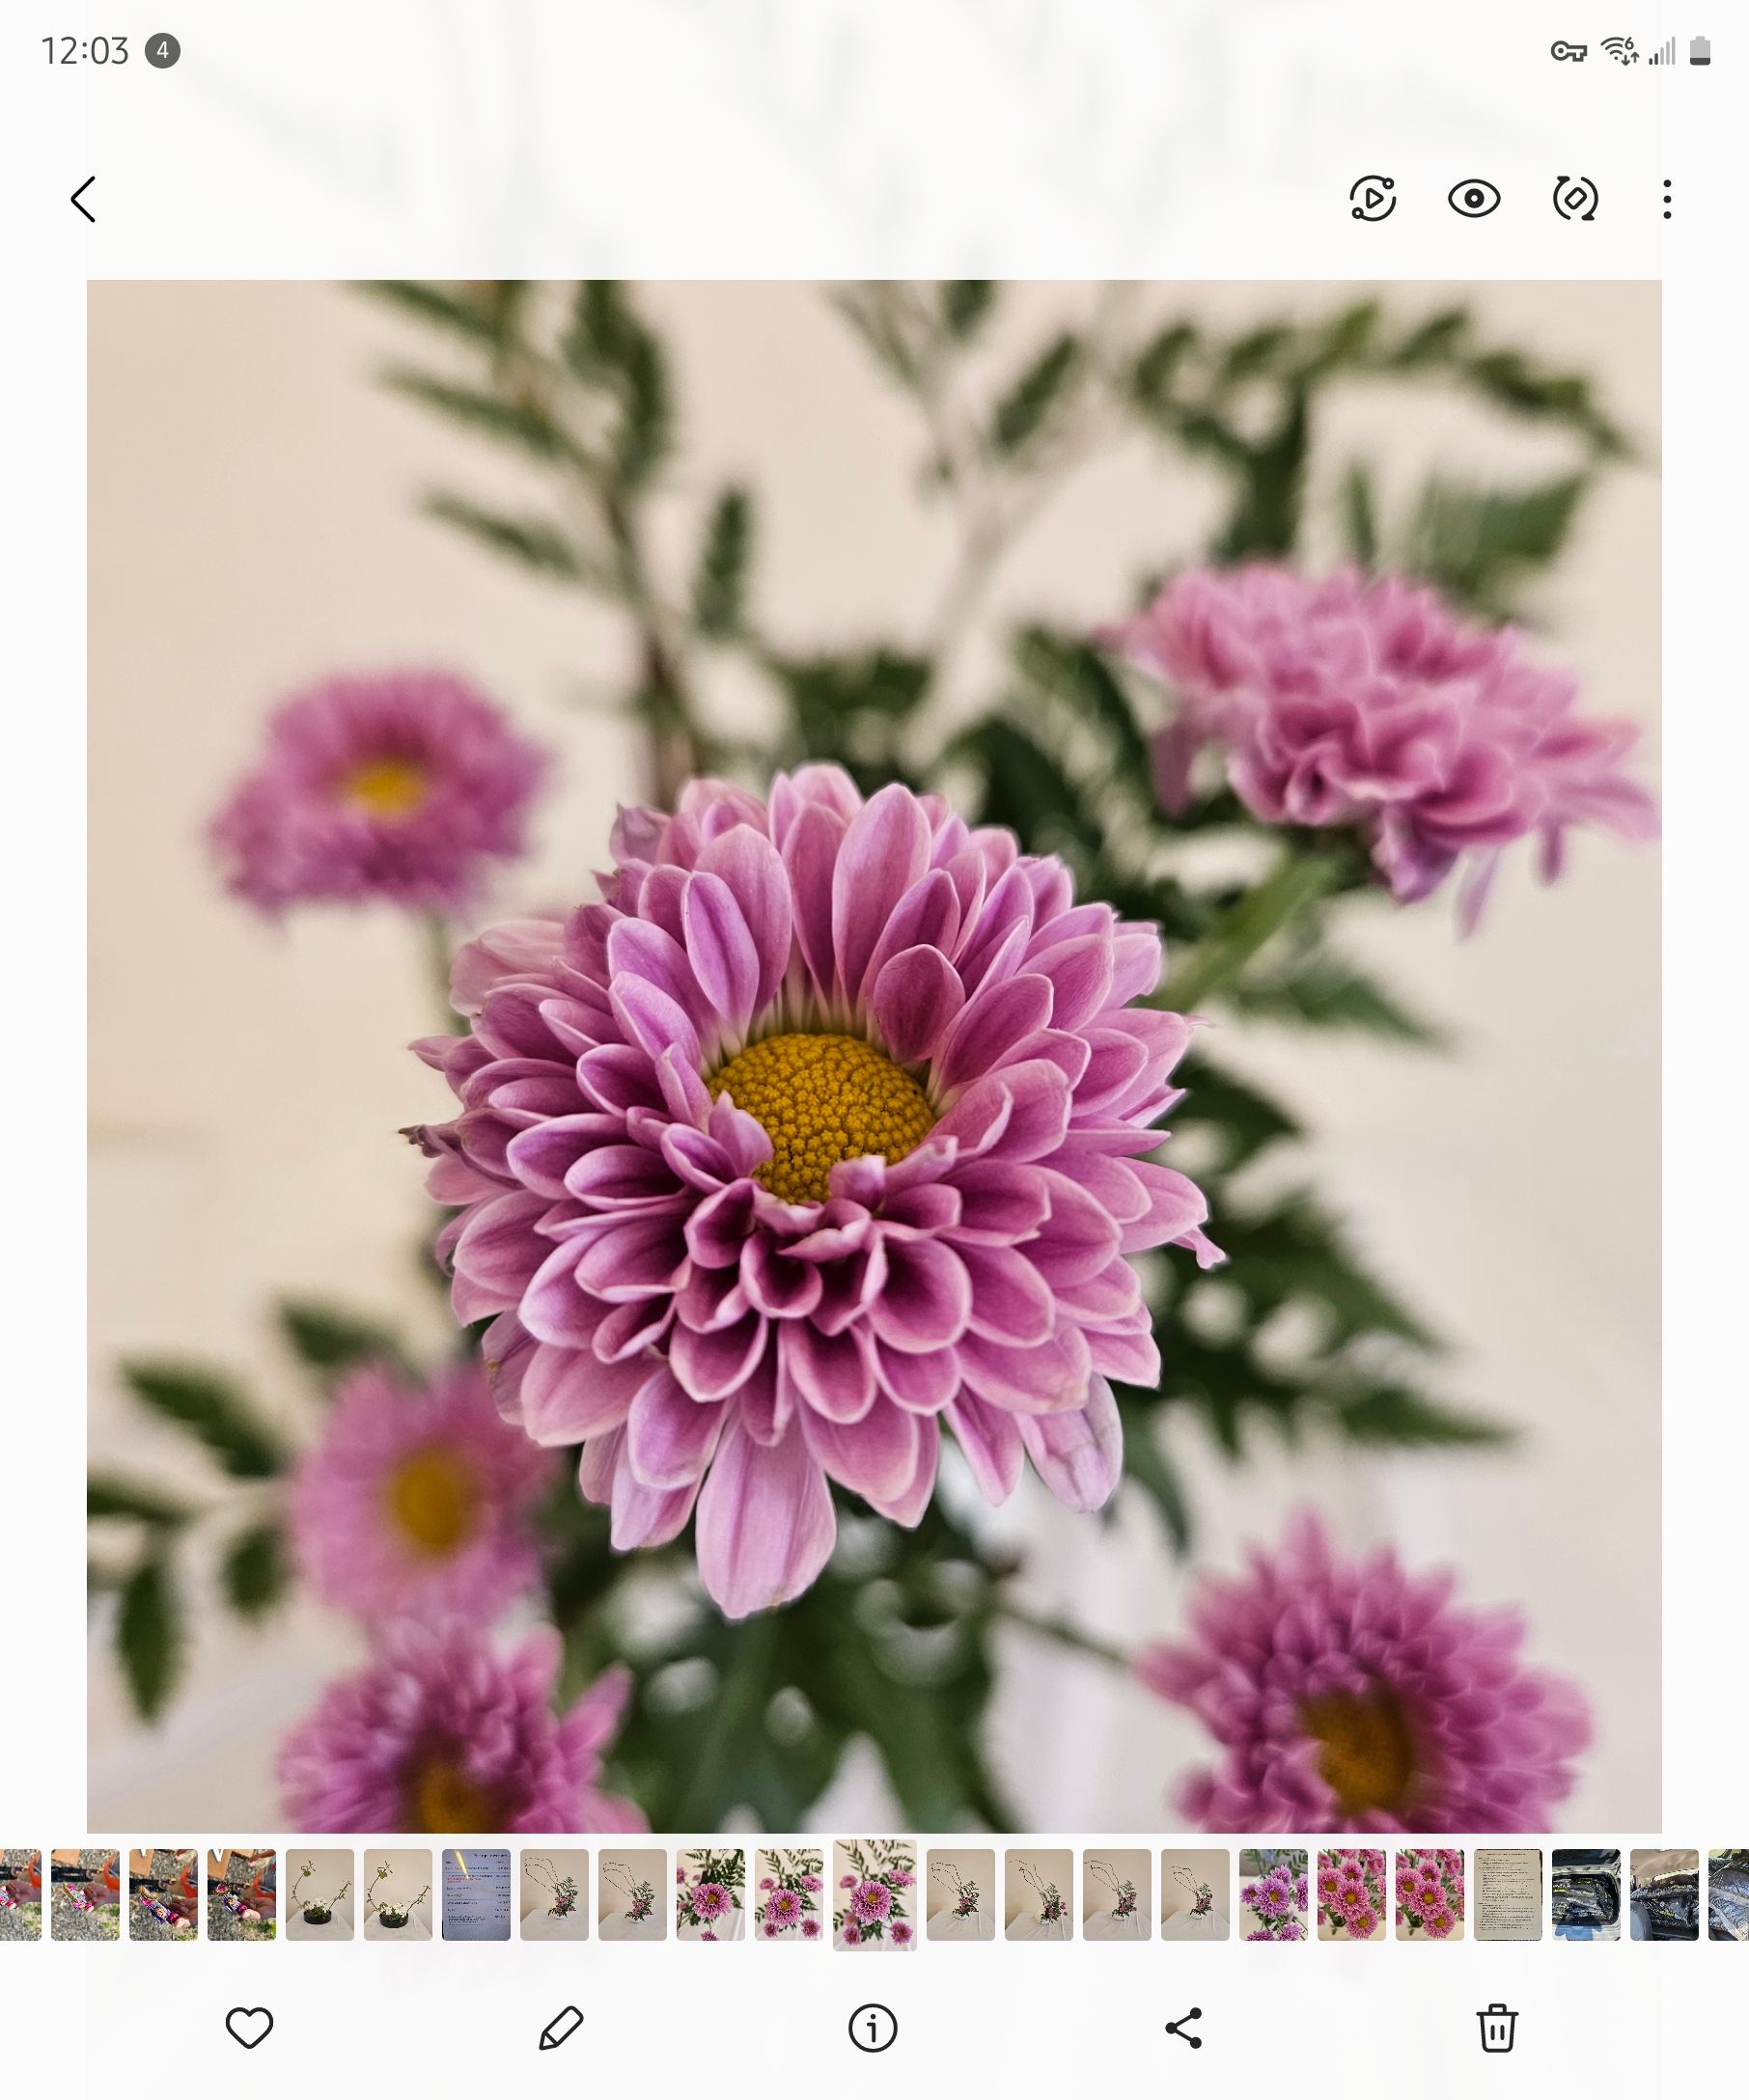
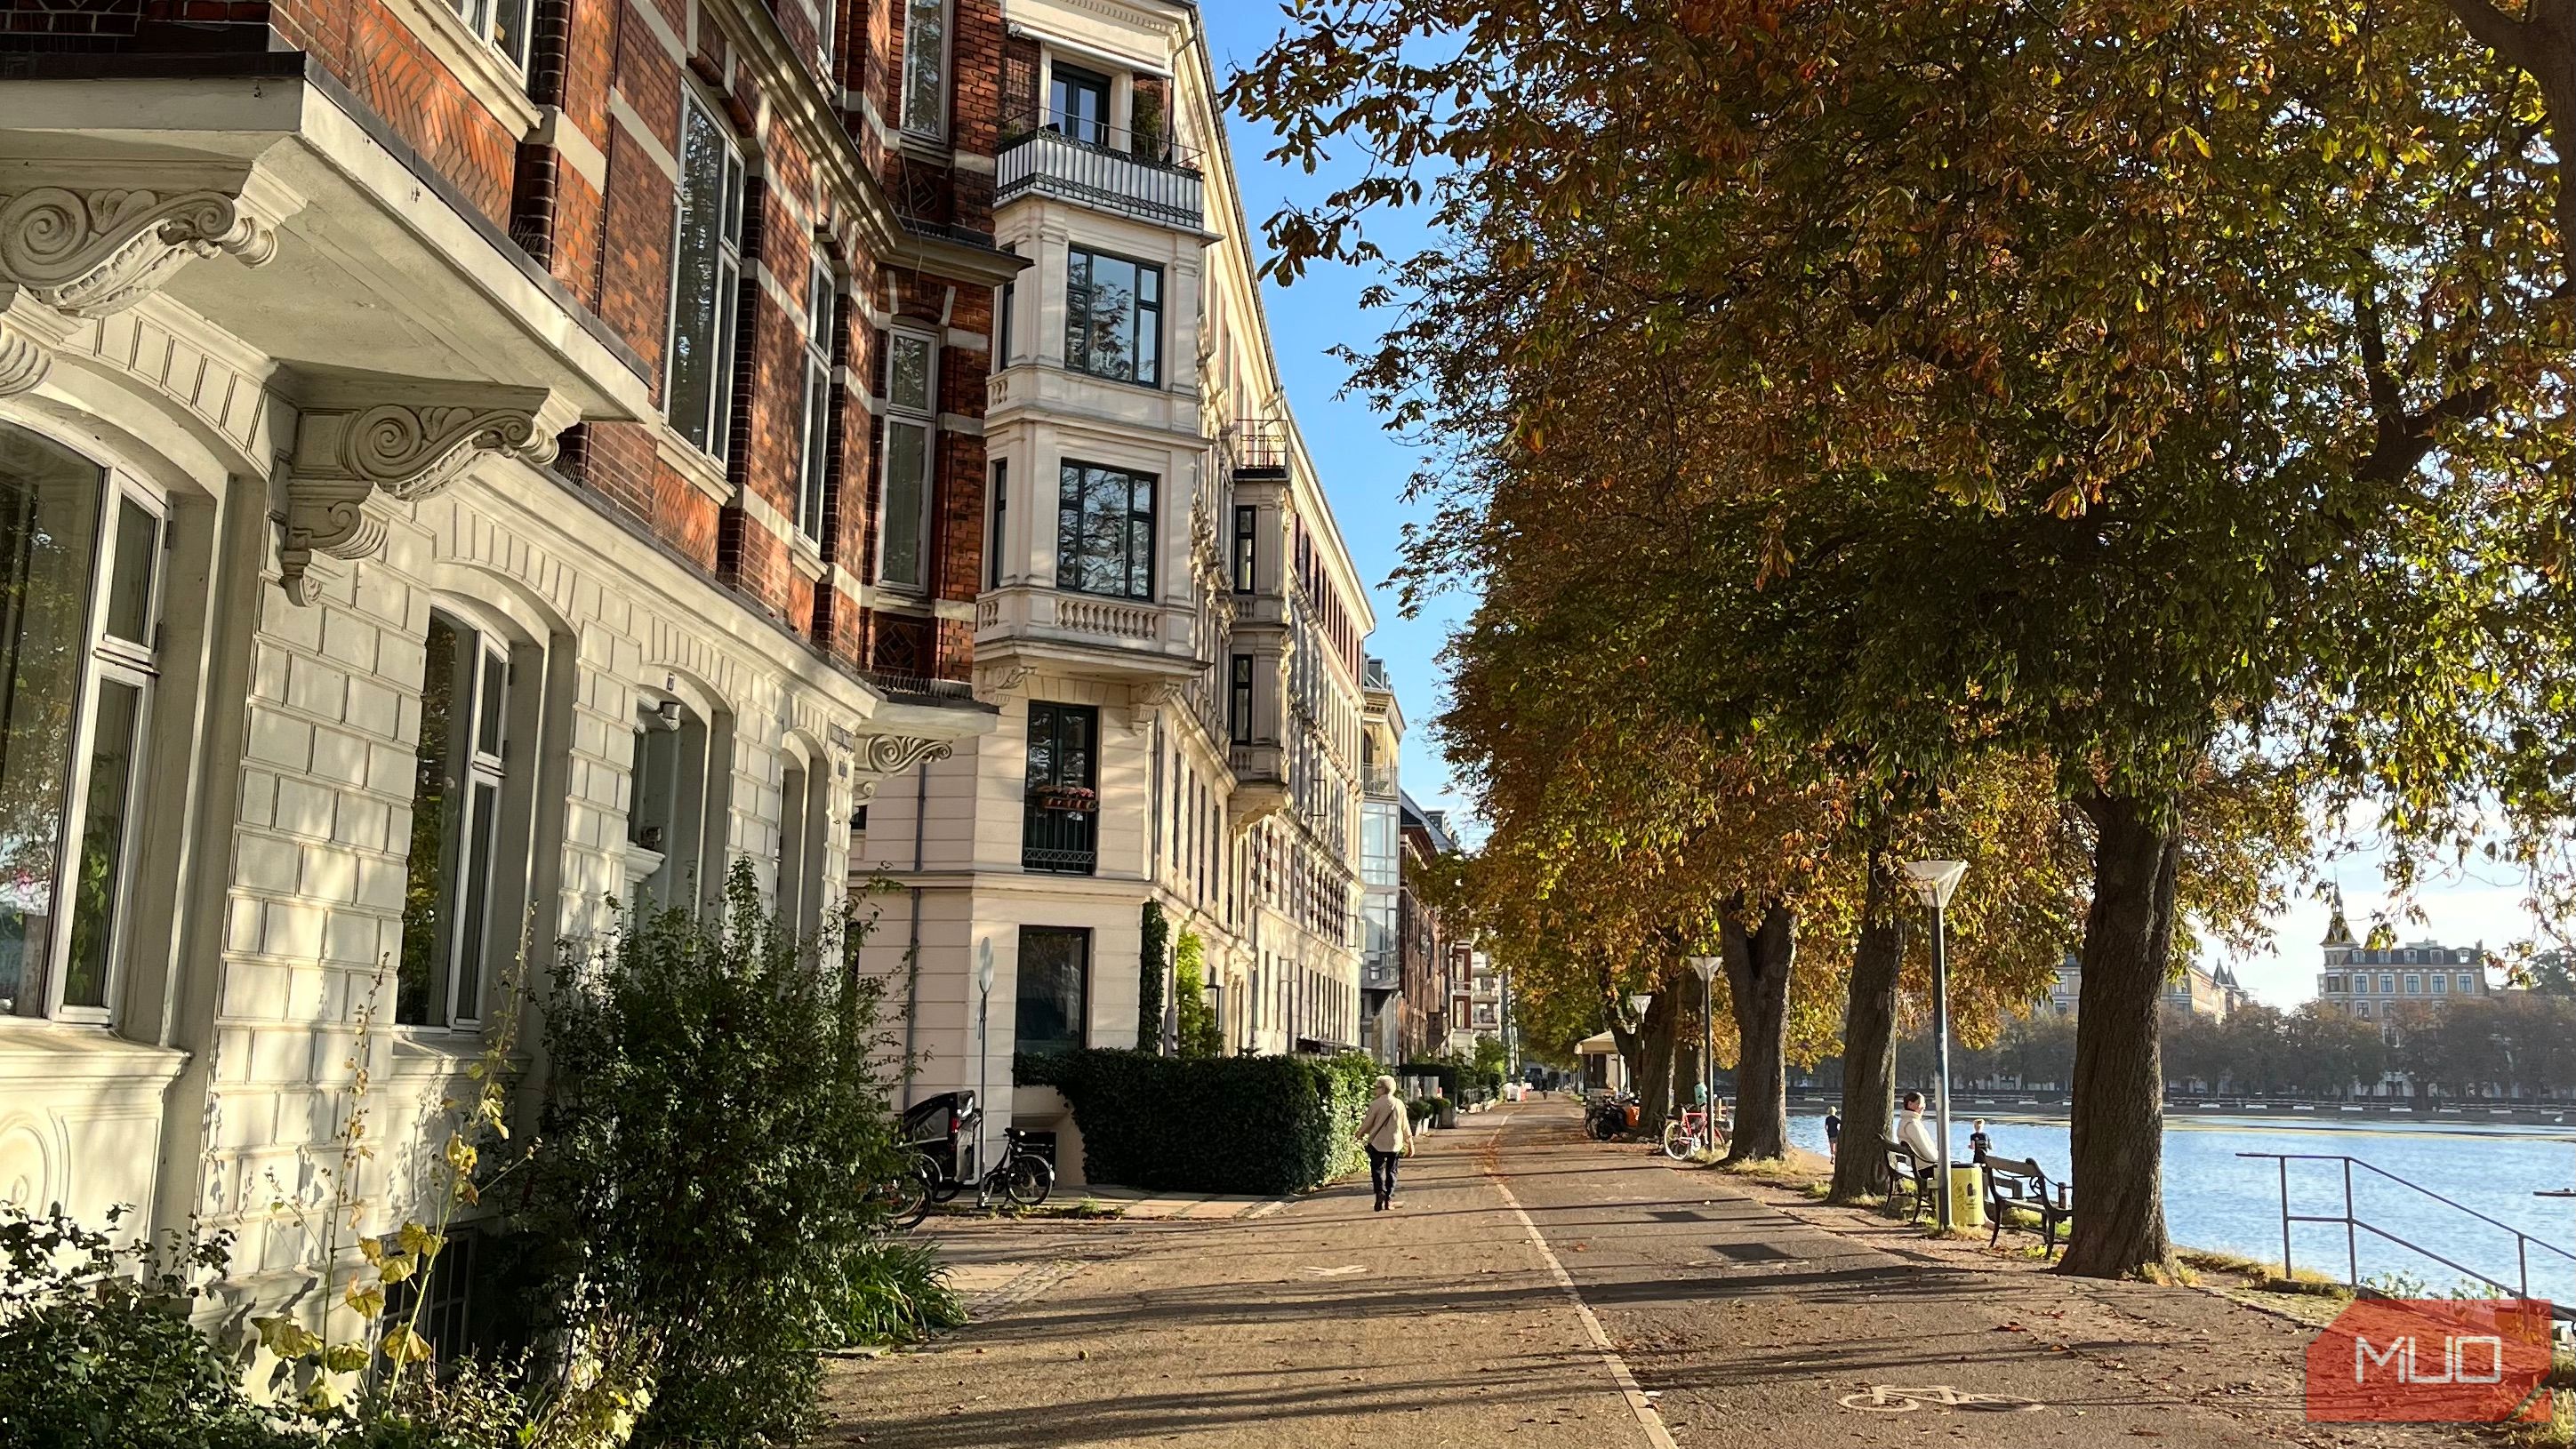
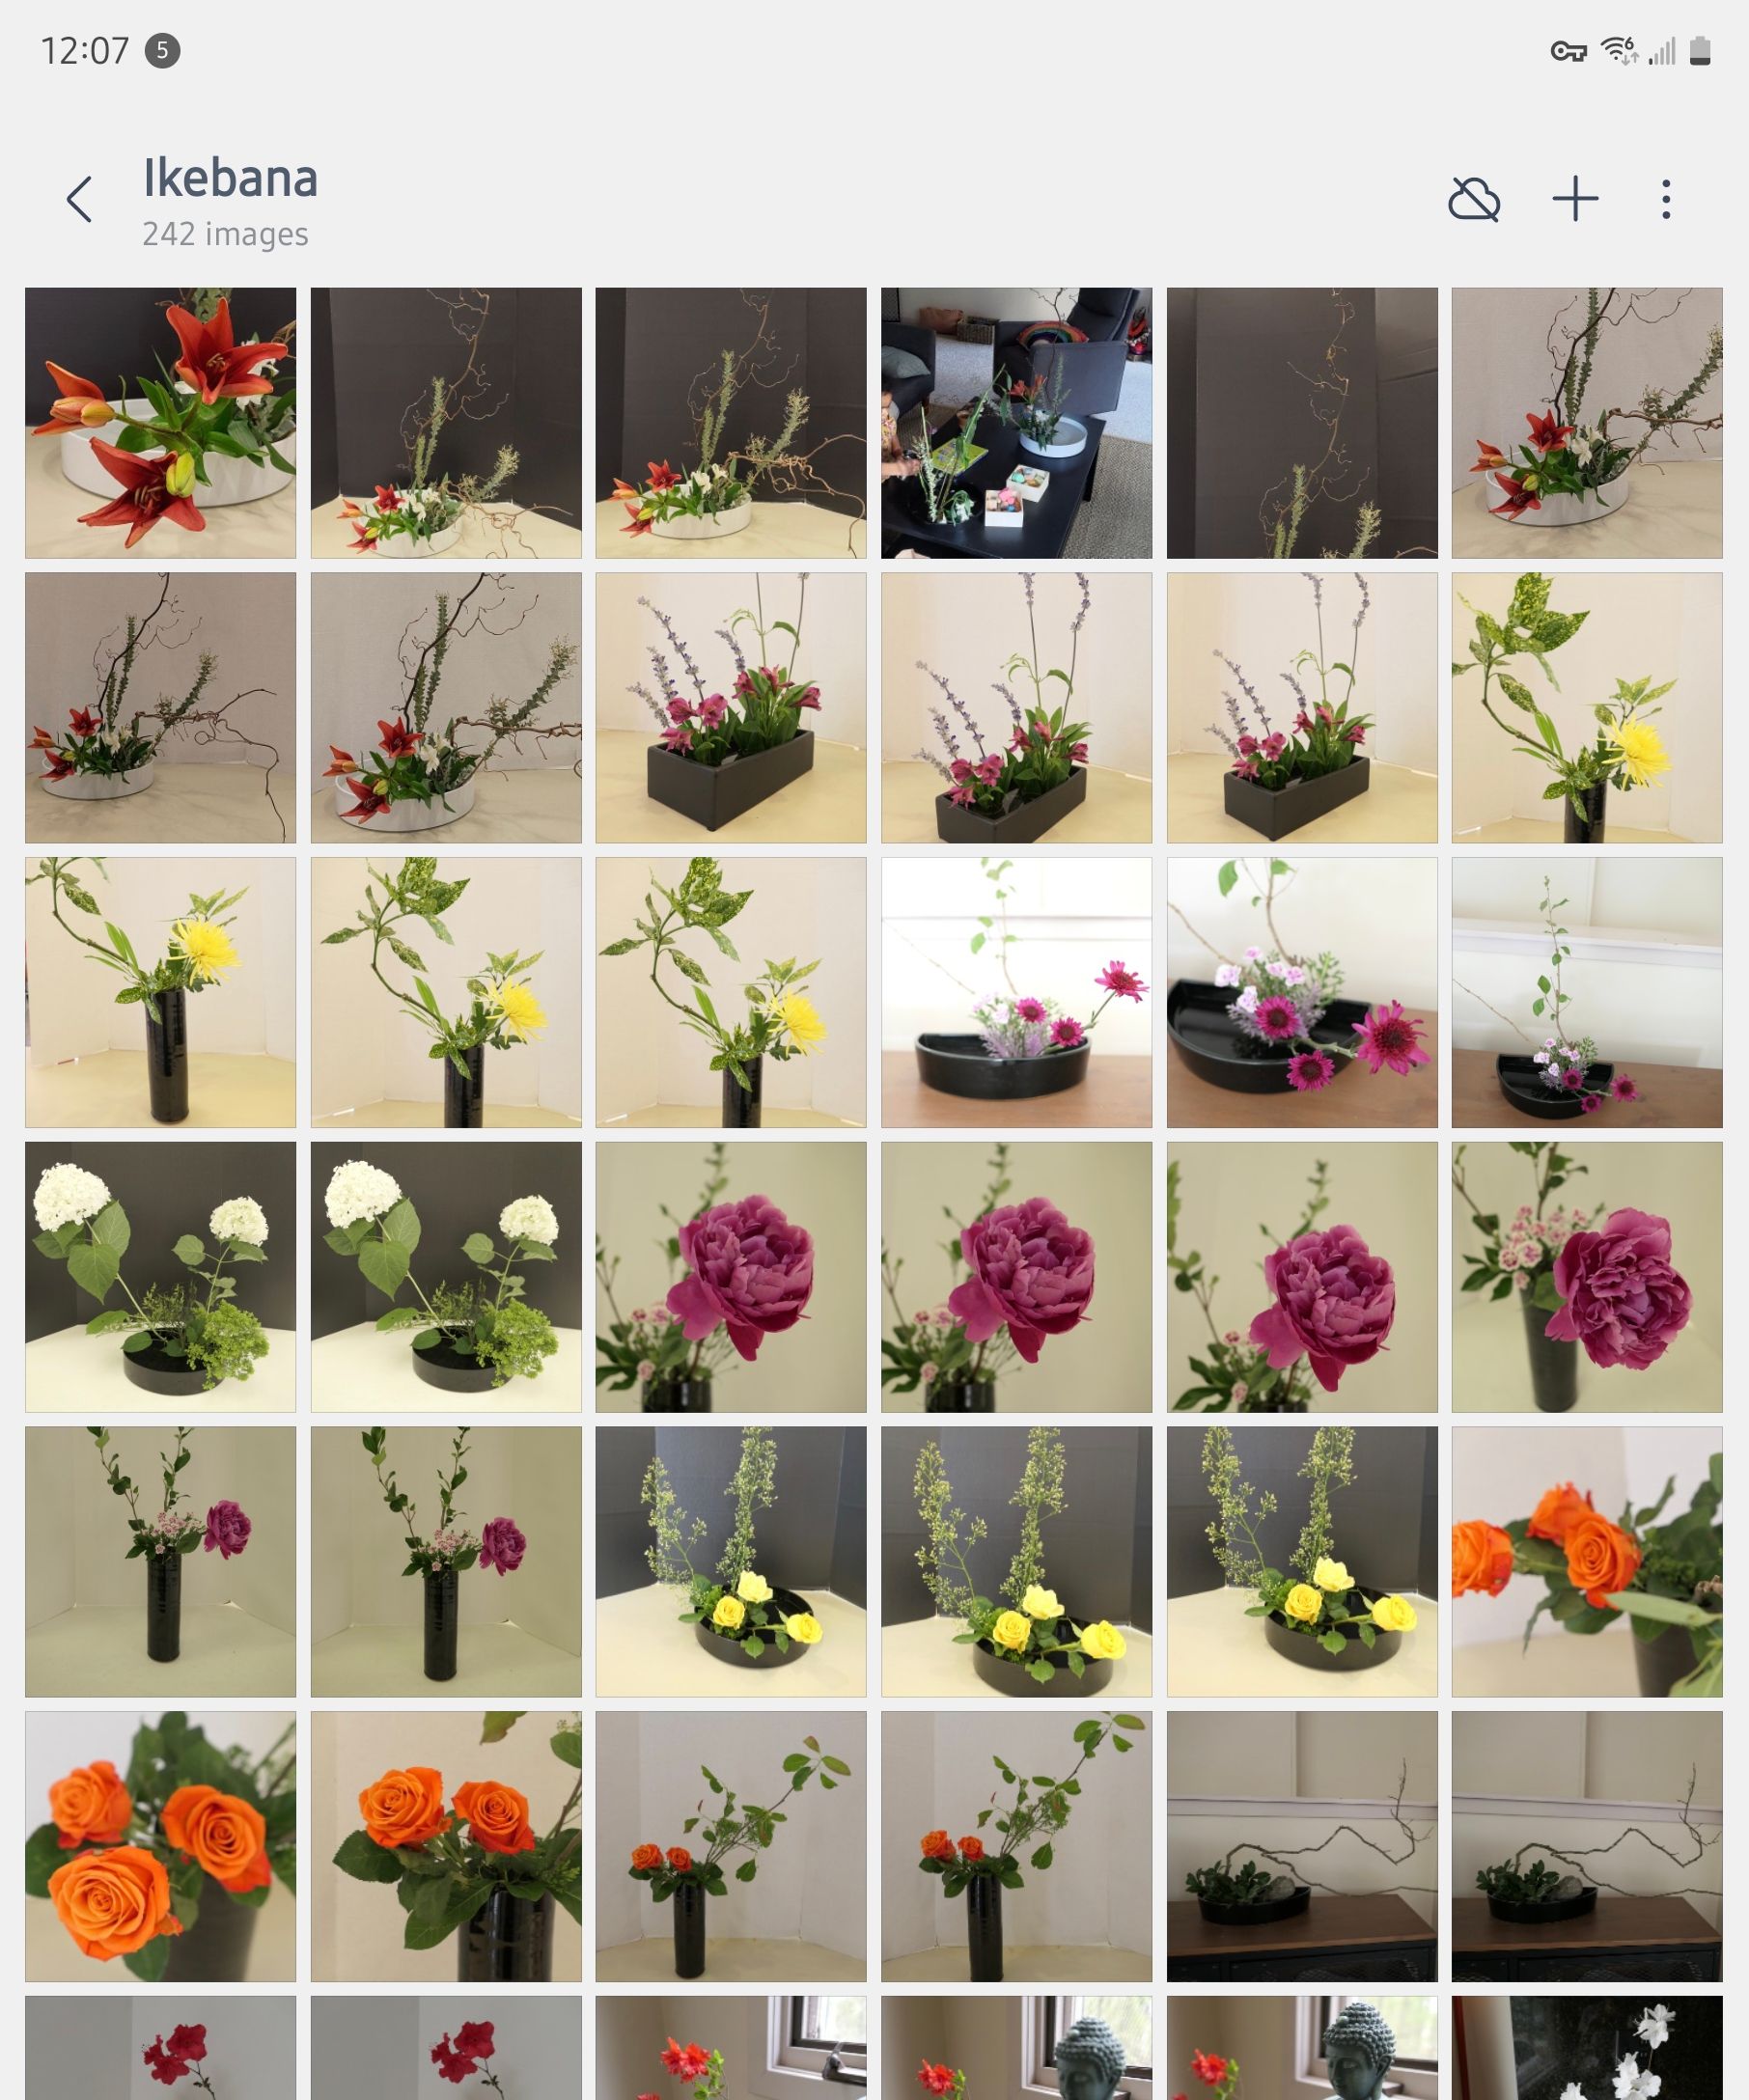
Smartphone photography has come a long way, allowing almost everyone to capture great images with the devices they carry with them every day. But even with all this advancement in technology, there are still common mistakes that can prevent you from getting the best shot.
1 Too much reliance on auto mode
Automatic settings on your smartphone camera can be helpful, but relying solely on automatic mode can limit your control over the final image. Auto mode can be useful in some cases because it adjusts everything for you, but it also means you’re leaving important decisions like exposure, white balance, and focus to your phone’s algorithms.
For example, if you’re shooting in difficult lighting conditions, your camera may not be able to expose the scene the way you want, resulting in washed-out highlights or overly dark shadows. Switching to manual control allows you to adjust settings like ISO and shutter speed to better handle difficult lighting and get the shots you want.
Not all smartphone native camera apps allow you to shoot in manual mode. That’s where third-party camera apps come in handy. Third-party camera apps like ReLens and Pro Camera give you access to the exposure triangle (ISO, shutter speed, aperture). —You’ll be able to fine-tune your photos to capture the scene as you see it, rather than how your phone interprets it.
2 Zoom instead of getting closer
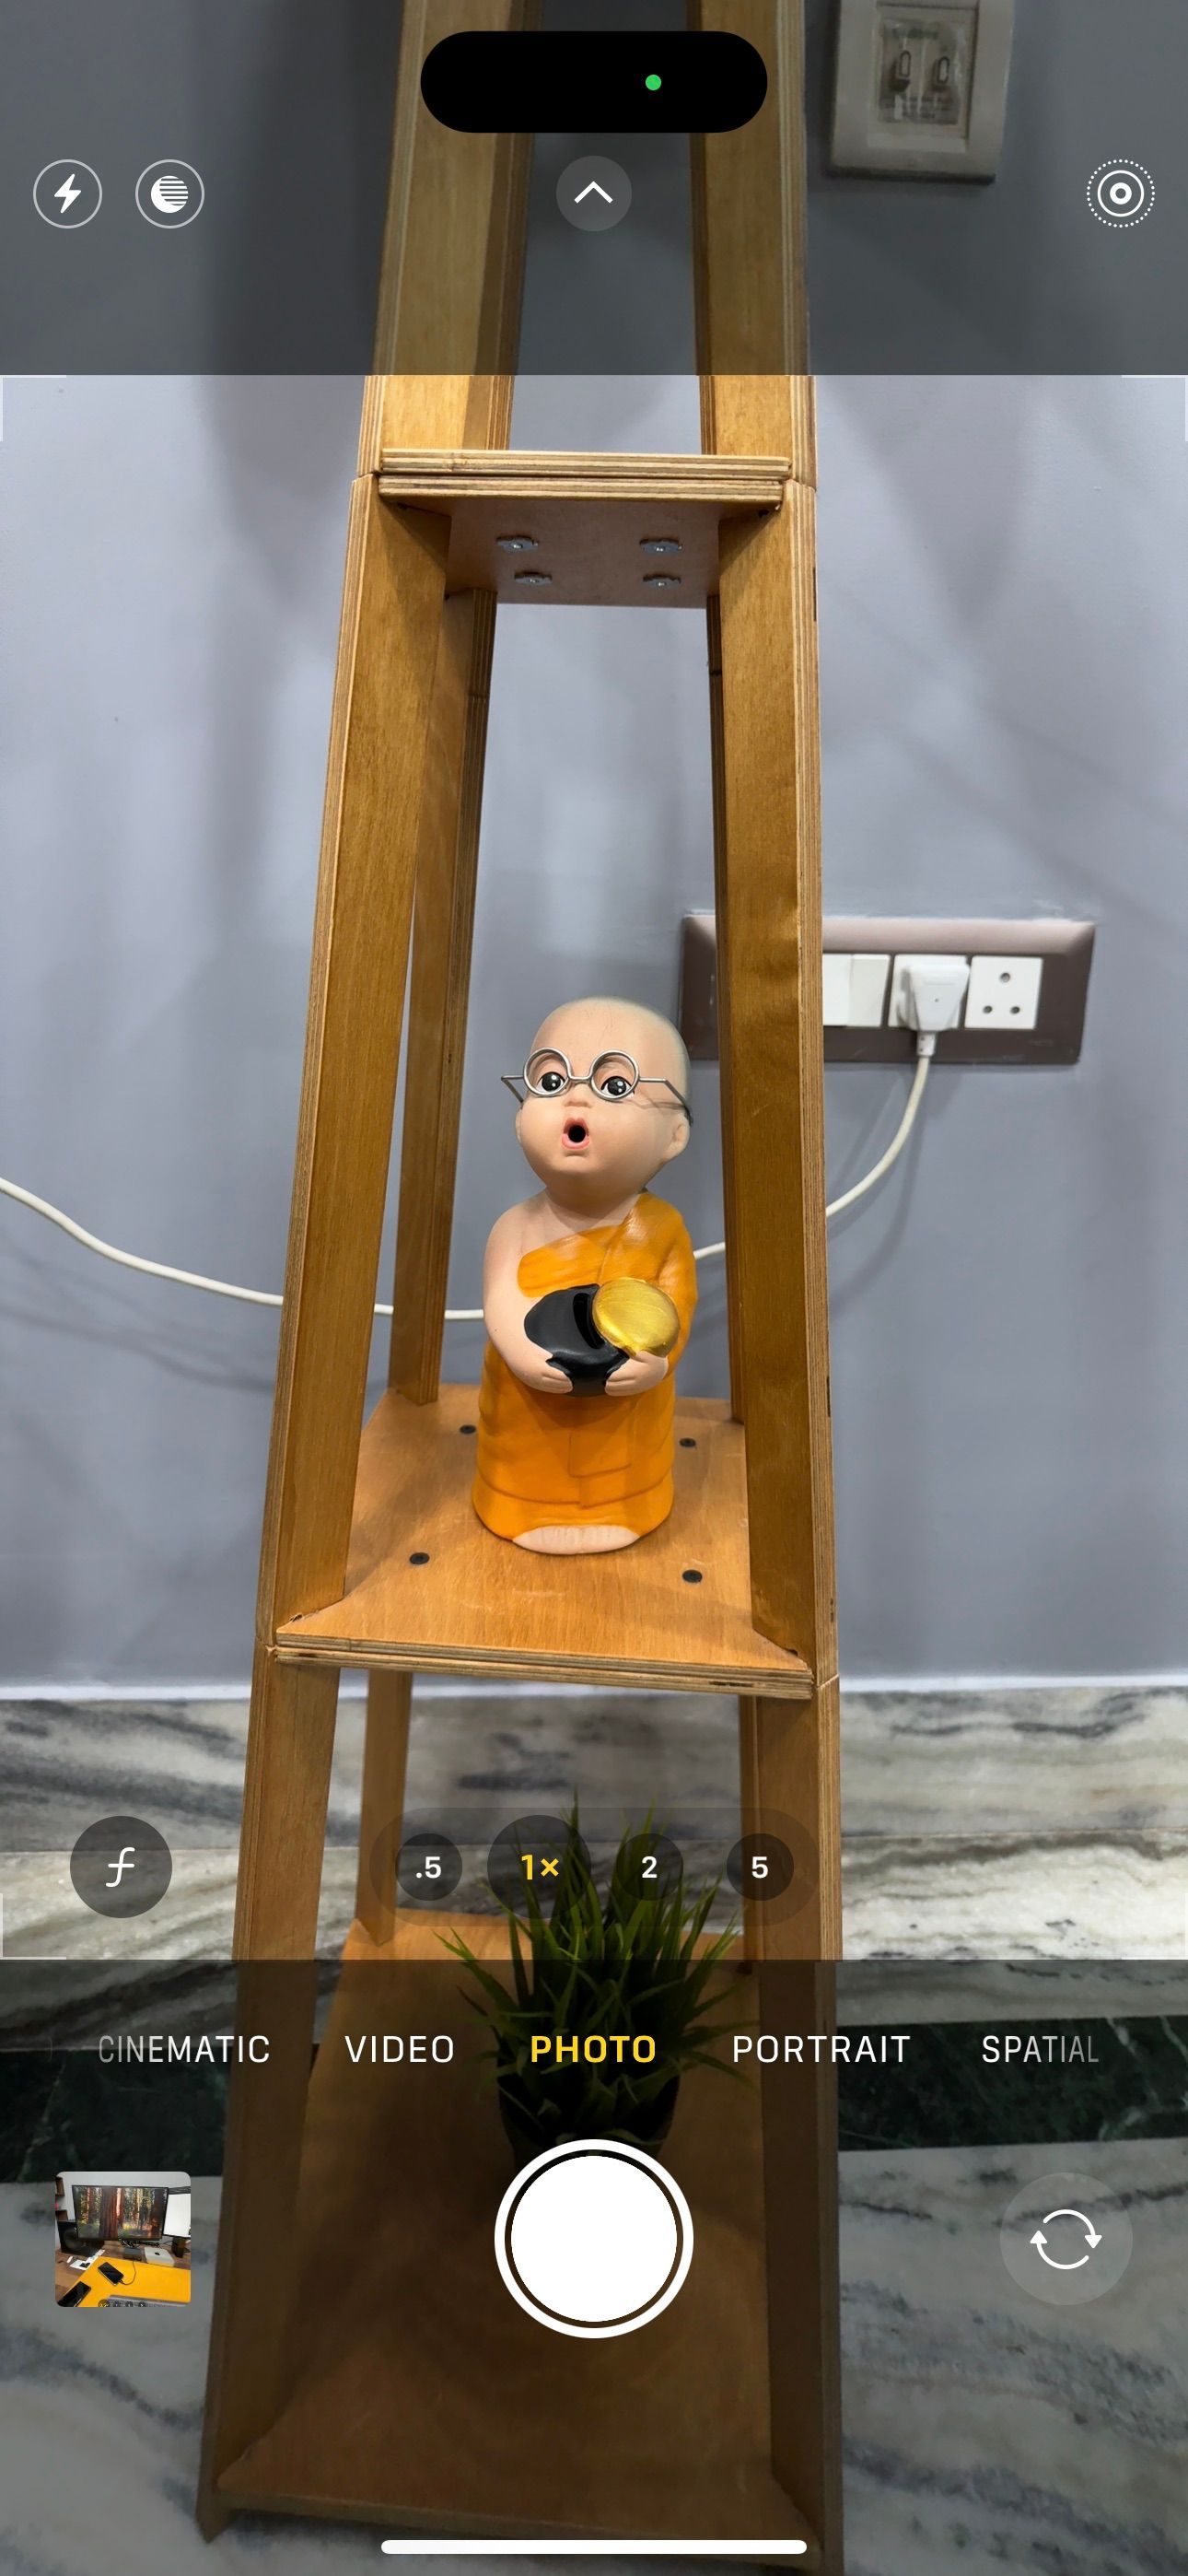

One of the biggest mistakes people make with smartphone photography is relying on digital zoom to get closer to their subject. Unlike optical zoom, which uses the camera’s lens to magnify the image, digital zoom only crops and magnifies the image, significantly reducing quality and clarity.
Instead of zooming in, get as physically close to your subject as possible. This allows you to use the camera’s maximum resolution and retain maximum detail. If you can’t get closer, we recommend taking a shot and cropping it later during editing to maintain higher image quality.
3 forgetting to clean the lens
Because we carry our smartphones with us everywhere, our smartphone lenses are constantly exposed to dust, fingerprints, and dirt. Dirty lenses can make your photos look blurry, hazy, or lack contrast. Many people don’t realize this until they compare their photo to a cleaner, clearer photo.
Before taking a photo, get in the habit of quickly wiping the lens with a soft, clean cloth or even your shirt (unless it’s rough). This small step can dramatically improve image clarity and prevent the soft, cloudy look that can occur due to lens dirt.
4 Too few shots taken
One of the biggest benefits of digital photography is that you can take as many photos as you want without worrying about running out of film. Still, many people still only take one or two shots and hope for the best. This approach can lead to missed opportunities and substandard photos, especially when capturing fleeting moments or when lighting is difficult.
Instead, take multiple shots from slightly different angles or in different settings. This gives you more options to choose from when reviewing your photos later. Don’t be afraid to experiment. Sometimes the best shot is the unexpected one.
5 don’t pay attention to lighting
Lighting can make or break a photo, and it’s one of the most overlooked aspects of smartphone photography. Many people photograph without considering where the light comes from and how it affects the subject. Poor lighting can cause unwanted shadows, overexposure, or dullness in your photos.
Always pay attention to the light to improve your shots. Natural light usually looks best, so try to shoot during “golden hour” when the light is soft and warm. If shooting indoors, position near a window for more even lighting. Unless you’re going for a dramatic effect, avoid strong overhead lighting and experiment with different angles to see how the light interacts with your subject.
6 Use flash in all dark situations
Many smartphone users instinctively reach for the flash when shooting in low light. Flash is useful, but overusing it often leads to harsh, unflattering lighting that washes out colors and casts unappealing shadows. Rather than relying on flash, consider other ways to enhance your low-light photography.
If your camera app allows it, try increasing your ISO settings. This allows you to brighten the image without the need for a flash. Additionally, look for available light sources such as lamps or streetlights to more naturally illuminate your subject.
If possible, use a tripod or place your phone on a stable surface to prevent camera shake during long exposures. This allows you to capture more detailed footage without the harshness of a built-in flash.
7 Overuse of HDR
High Dynamic Range (HDR) is a great feature that helps you capture a wider range of tones in your photos, especially in difficult lighting situations. However, using HDR too often or improperly can produce unnatural and over-processed images. Colors are often too saturated, resulting in a “fake” look with exaggerated detail in shadows and highlights.
Instead of defaulting to HDR for every shot, consider when you really need it. HDR works best in high-contrast scenes, such as landscapes with bright skies and dark foregrounds, but can be overkill for simple scenes. Use it selectively and check the results to make sure your image retains its natural look while still benefiting from the HDR effect.
8 Skip configuration rules
Proper composition is the key to creating attractive and visually appealing photos, but many smartphone users overlook it. Relying solely on intuition often results in poorly framed shots that lack impact. Understanding basic composition rules like the rule of thirds, leader lines, and framing can greatly improve the quality of your photos.
For example, the rule of thirds suggests dividing the frame into a grid of nine equal parts and positioning your subject along these lines or at their intersections for a more balanced composition. Masu. Similarly, guiding lines such as roads or fences can lead the viewer’s eye to the main subject. Don’t be afraid to experiment with different angles and perspectives to find the composition that best highlights your subject.
9 Don’t use burst mode for action shots
Taking action shots can be difficult, especially when your subject is moving quickly. It’s easy to make the mistake of taking only one photo, hoping for the perfect shot, but this method often leads to missed opportunities. To increase your chances of capturing the perfect moment, take advantage of your phone’s burst mode.
Burst mode lets you take a series of photos in quick succession, increasing your chances of stopping the action at the right moment. This is especially useful for sports, pets, or children who are on the move. Once you’ve captured a burst, you can sift through the images to find the one with the best composition and clarity.
Taking photos with your smartphone may seem easy, but by avoiding these common mistakes you can significantly improve your skills and improve the quality of your images. These tips will help you get the most out of your smartphone and bring your creative vision to life.


